How Much Packing Tape Do I Need for Moving?
Estimate packing tape from your box count, weight, box size, sealing method, and move distance without relying on a false universal rule.
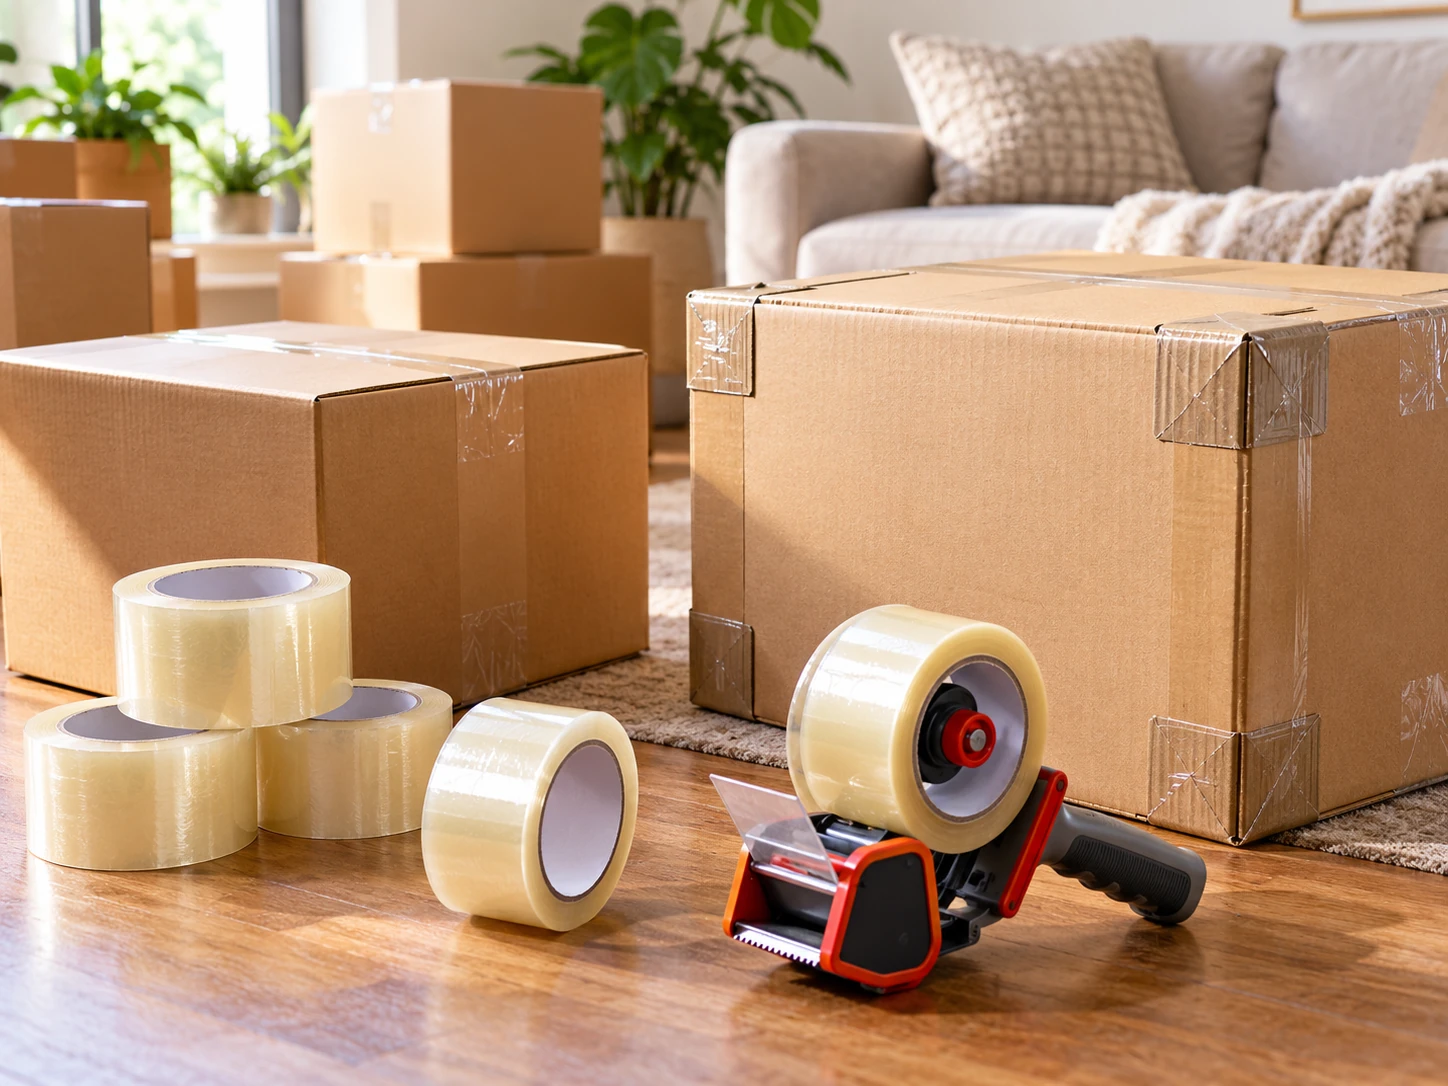
Calculate rolls from measured tape use
Use this formula: rolls = round up (box count x tape length per box / usable length per roll). Keep all lengths in the same unit. A 60 yd roll contains 180 ft, approximately 54.9 m. A shorter roll with the same width will seal fewer of your trial cartons.
For mixed box sizes or sealing methods, measure one representative box from each group and add the group totals. Include wasted cuts and material already used when checking what remains on an opened roll. Follow the box and tape supplier's sealing instructions for the load.
Start with your box count
For an illustrative 40-box move using a measured 12 ft of tape per carton, you need 3 rolls of 60 yd tape, or 4 if you keep one spare. Your total depends on the roll length and the way you seal your actual boxes. Measure tape used on a trial carton, multiply by the remaining box count, then round up to whole rolls.
What changes the estimate
- Box count: every carton needs closure, even when it is packed efficiently.
- Box size: wide or deep cartons need longer strips and more overlap.
- Weight: books, canned goods, tools, and dishes put more strain on the bottom seam.
- Packing style: cross strips, generous overlap, and repair patches consume more tape.
- Distance: long-distance moves mean more loading, unloading, stacking, and handling.
- Box condition: reused, damp, or crushed cartons may need replacement rather than more tape.
Build a useful planning range
| Box | Common dimensions | Good for | Weight note |
|---|---|---|---|
| Light packing | Fewer cartons, moderate contents | One bottom pass and one top pass on sound boxes | Plan near the lower end and keep one spare roll |
| Mixed household | Small, medium, and standard cartons | Normal seals plus selected seam reinforcement | Use a middle range |
| Dense or fragile | Books, dishes, tools, or heavy padding | Stronger bottoms, overlap, and selected cross strips | Plan higher and keep tape at the station |
Roll lengths and sealing habits vary, so this is deliberately broad. After packing the first room, compare rolls used with boxes closed. Your own ratio is more useful for the remaining rooms than a rule from another household.
Seal the bottom before filling
Fold the short flaps first, bring the long flaps together, and run one continuous strip over the center seam. Let the tape overlap both flaps and press it flat so there are no bridges or loose bubbles. Seal the bottom before adding contents; discovering a weak seam later is inconvenient and risky.
One centered strip may suit a light box in good condition. Double-tape the bottom for books, dishes, tools, canned goods, large cartons, weak seams, stairs, or long-distance handling. Add a cross strip only when it supports a sound, properly sized box. Tape cannot restore wet cardboard or make an overloaded carton safe.
Close the top and reinforce corners
Settle the contents so the flaps meet naturally, then run one clean strip over the center seam. If the flaps spring open, remove or redistribute items instead of pulling tape across an overfilled box. Add a second strip when the carton is heavy, repeatedly opened, or headed into extended handling. Use short pieces on corners or weak seams only where needed.
- Books and records: use small boxes, support the contents, and stop at a liftable weight.
- Dishes and glassware: cushion the base, fill gaps, and reinforce the seam carrying the padded load.
- Tools and hardware: contain sharp edges and use a compact box so weight does not pull the bottom apart.
- Fragile or long-distance cartons: reinforce selected corners after packing, never instead of padding.
- Reused cartons: replace soft, damp, crushed, or previously damaged boxes.
Choose tape type and width
Use carton-sealing tape made for cardboard and wide enough to cover the seam. Common widths vary by supplier, so check that the roll fits your dispenser. Standard clear or tan tape works for everyday top and bottom seams. Heavy-duty carton tape suits heavier contents or more demanding handling. Printed or colored tape can signal FRAGILE or a room, but it is still only a visual cue, not a structural seal.
Paper, painter's, or masking tape can hold temporary notes but should not be the only seal on a loaded carton. Stretch wrap can hold drawers or loose items closed, but it is not a replacement for carton tape. Keep the adhesive surface clean and do not use tape to cover an actual box failure.
Use a dispenser
A handheld dispenser makes straight strips, consistent overlap, and quick cuts easier. Start on a flat surface, center the seam, smooth the tape as you go, and avoid stretching it until it narrows or lifts at the edges. If the cut is uneven, adjust or replace the roll instead of pulling harder. Guard the blade and keep spare rolls clean and dry.
Plan room by room
Keep a portable kit with the dispenser, spare rolls, marker, labels, and scissors. Start with storage and low-risk rooms, then work through bedrooms, offices, kitchens, and fragile items. Leave one roll outside the packed load for the final bathroom, cleaning, and first-night boxes.
- Kitchen: reserve extra tape for dishes, pantry goods, and careful bottom checks.
- Office or library: expect more small book boxes and test weight before closing them.
- Bedroom: medium and standard boxes usually need ordinary seals; wardrobe boxes have separate closure points.
- Living room: label accessory boxes and reinforce electronics or fragile décor cartons.
- Garage or storage: use compact boxes for dense tools and contain sharp or oily items.
Books, fragile items, furniture, and a TV
Books increase tape use because they produce more small, dense cartons. Pack them upright or in short supported stacks, leave room for a cushion, and stop before the box becomes awkward. Fragile boxes need tape for closure, but protection starts inside: wrap pieces, cushion the bottom, separate hard surfaces, and fill movement gaps. Mark the sealed carton on two sides.
Furniture and a TV may not add many sealed cartons, but they still affect the estimate. Wrapped furniture needs secure pads, ties, and labeled hardware bags. A TV usually needs a fitted box or suitable protective packaging, padding around the screen and corners, and a labeled accessory box. The calculator can account for these special items as handling and protection needs, not as a promise of extra tape rolls.
Long-distance moves and storage
For a long-distance move, use sound cartons, full seams, stronger bottoms for dense loads, and selected corner reinforcement. Boxes may be moved and stacked repeatedly or exposed to changing temperatures. For storage, do not seal damp contents, keep labels readable, and store spare tape in a dry place. Extra tape supports a good box; it cannot fix moisture or prevent contents from shifting inside.
Common mistakes
- Buying rolls before counting the number and mix of cartons.
- Using one narrow strip on a heavy book or dish box without testing the seam.
- Taping over an overfilled box instead of removing contents.
- Using painter's tape or stretch wrap as the only seal on a loaded carton.
- Reinforcing every box heavily and wasting tape on sound light cartons.
- Sealing before writing the destination and contents note.
- Packing the dispenser and spare rolls where they cannot reach the final boxes.
- Treating a range as exact when roll lengths, boxes, and habits differ.
Use BoxCount Planner, then verify
The default BoxCount scenario starts at 3-5 rolls of 60 yd tape. Tape now follows the number and dimensions of common and specialty cartons, with an H-seal, overlap and a waste allowance. Long-distance moves increase the allowance. Books, additional rooms or storage can raise tape by adding cartons. Furniture protection is counted separately as blankets and stretch wrap. Use the measured-box method above to check your actual sealing style.
- Count cartons and separate heavy or fragile categories.
- Choose cardboard tape and confirm the roll fits your dispenser.
- Seal bottoms before filling and test the weight and seam.
- Double-tape heavy bottoms and reinforce selected corners.
- Keep the dispenser, labels, marker, and spare rolls accessible.
- Leave tape outside the load for late cartons and repairs.
- Recheck the estimate after the first packed room.
Use the calculator for a personalized starting estimate. Exact needs vary, so adjust it after you take inventory.
Use the moving supplies calculator