How to Pack a Kitchen for Moving
Pack dishes, food, cookware, appliances, and cleaning supplies in a practical order without overloading boxes.
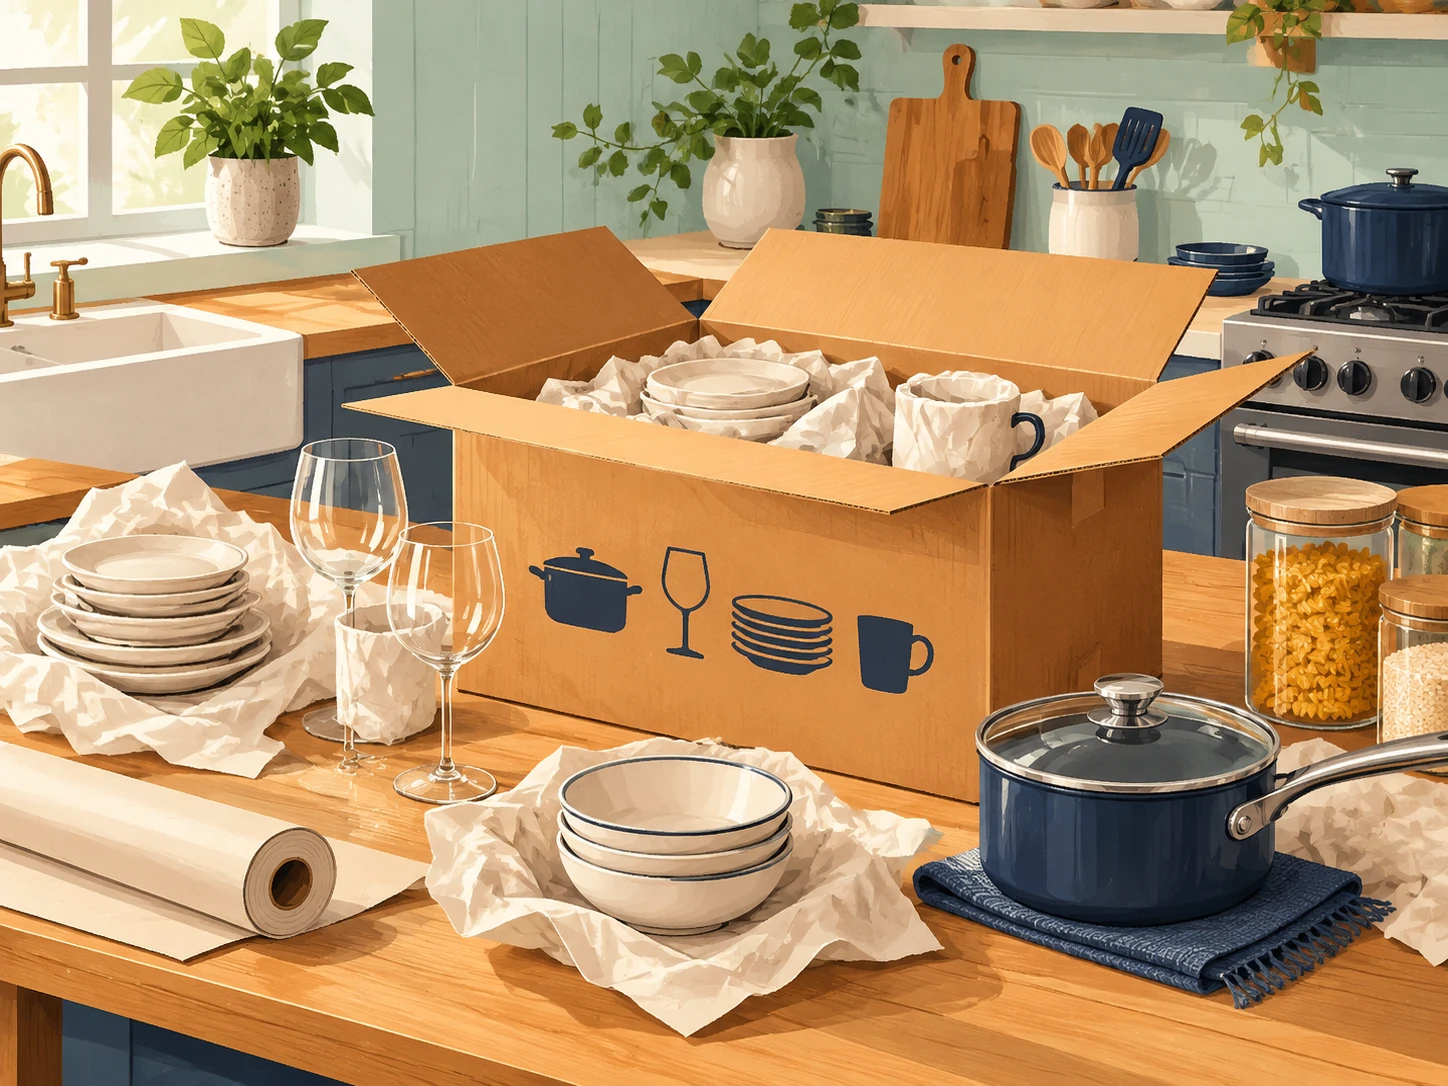
When to start packing the kitchen
Start packing the kitchen when the move date is close enough that you can make decisions, but early enough to avoid rushing. A practical first pass is to sort seasonal serving pieces, duplicate utensils, rarely used appliances, and pantry items you will not finish. Keep the tools and ingredients you use every day until the final stretch.
Kitchen packing takes longer than the room's footprint suggests because each object needs a decision, cleaning, wrapping, or a safe box position. Give yourself several short sessions if possible. Estimates vary with the amount you own, how much you declutter, and how carefully you cushion breakables.
Declutter first and use up food
Before buying boxes, empty each cabinet, drawer, and shelf onto a counter or table. Group items by what you will keep, donate, discard, use before moving, or give away. This is the moment to let go of duplicate mugs, chipped dishes, gadgets you never use, and food that has been sitting untouched.
- Use up open refrigerated and frozen food when the move is nearby, and plan meals around what will not travel well.
- Donate unopened, unexpired pantry goods when a local organization can accept them.
- Discard expired food, leaking packages, and anything whose condition you cannot identify.
- Check appliances, lids, storage containers, and serving pieces for missing or broken parts before packing them.
- Keep the small collection of items needed for the final meals in one clearly marked area.
A smaller inventory means fewer cartons, less wrapping, and less unpacking. It also makes the calculator's starting range more useful because the inputs describe what you actually plan to move.
Gather supplies that match the work
Use sturdy small and medium boxes for kitchen items. Small cartons are useful for dense pantry goods, canned food, and heavy utensils. Medium cartons give dishes, cookware, and small appliances room for padding without becoming a difficult lift. Standard boxes work better for light kitchen towels, paper goods, and empty storage containers.
- Small and medium moving boxes with intact bottoms
- Packing paper for wrapping, separating, and filling gaps
- Bubble wrap for especially delicate pieces, corners, and thin handles
- Packing tape, a dispenser or scissors, permanent markers, and labels
- Zip bags for appliance cords, screws, lids, and small parts
- A trash bag, donation box, and clean surface for sorting
Clean towels and dishcloths can fill some gaps, but they should not be the only protection around fragile glass or ceramic. Reused boxes are fine when they are dry, clean, and structurally sound. Reject cartons with crushed corners, damp spots, or weak seams.
Work through the room in a steady order
- Start with the highest cabinets and least-used drawers. Set aside donations and trash immediately so they do not get packed by mistake.
- Pack serving pieces, extra cookware, duplicate utensils, and small appliances that are not part of the final meals.
- Move to the pantry and group sealed dry goods by type. Keep liquids in separate, upright bags or bins.
- Pack the refrigerator and freezer only after the food plan is settled and the appliances have been emptied and cleaned.
- Finish with the daily-use items, then place the first-night kitchen box somewhere it cannot be loaded by accident.
Keep one packing station in or near the kitchen. Put paper, tape, labels, marker, scissors, and a box for loose parts in the same place. Close and label each finished carton before opening the next one. That prevents a counter full of half-packed boxes from becoming another sorting job.
Pack dishes and plates without crushing the stack
Pad the bottom of a sturdy small or medium carton with crumpled packing paper. Wrap plates individually, then place them on edge in a supported row. A short row on its side handles movement better than a tall flat stack that transfers pressure through every plate.
Wrap bowls and serving pieces separately, adding paper between nested surfaces. Keep heavier pieces low and lighter pieces above them. Fill the sides and top with paper until the contents cannot slide, then close the flaps without forcing them.
Protect glasses and stemware
Glassware needs protection around its bowl, rim, and any stem or handle. Wrap each glass separately. Add a little extra paper around the rim, then arrange the pieces so they cannot knock against one another or rest on a hard edge.
- Use a divided box or create padded rows when the glasses have similar shapes.
- Place heavier glass items below lighter pieces only when the arrangement stays stable.
- Add bubble wrap around unusually thin, delicate, or sentimental pieces.
- Fill all side and top gaps with crumpled paper. A fragile label does not stop loose glass from moving.
- Write GLASSWARE and the destination room on two sides and the top.
Keep stemware cartons near the top of the load and away from dense book or pantry boxes. For irreplaceable pieces, consider carrying them separately instead of treating them like ordinary household inventory.
Handle pots, pans, and small appliances
Pots and pans are durable, but their handles and edges can damage other items. Nest cookware only when the pieces are clean and separated with paper or a towel. Wrap removable handles and lids, and keep heavy cast-iron pieces in small cartons so the box remains liftable.
Small appliances should be empty, clean, and dry before packing. Remove detachable parts, protect buttons and glass surfaces, and place cords in labeled bags. Use original packaging when it still fits; otherwise wrap the appliance and cushion it so it cannot slide into the carton walls.
- Coffee makers, blenders, mixers, and toasters: remove crumbs and liquids, then protect controls and cords.
- Knives: keep blades in their original block when possible, or wrap each blade and mark the package clearly. Place the wrapped bundle in a rigid container so the point cannot reach the box.
- Odd-shaped appliances: use a medium carton with padding around the base and corners rather than forcing them into a box that bows.
Pack pantry food, liquids, and cleaners separately
Dry pantry goods can travel in small boxes when their packages are sealed and the carton stays manageable. Group similar items, keep heavier cans low, and use a liner or bag when a package could shed crumbs. Do not pack books, dishes, or fabric with food that might leak or attract pests.
Place oils, sauces, syrups, and other liquids upright in sealed plastic bags or a lidded bin. Check caps and wipe the outside before packing. Cleaning products deserve their own labeled container, with incompatible products kept apart and caps secured. Follow the carrier or local disposal rules for anything that cannot safely travel.
Refrigerator and freezer plan
Make the food plan before moving day. Use, donate, or discard as much chilled and frozen food as practical, then pack what remains in sealed coolers or containers that can stay upright. Keep food separate from cleaners, oils, and other items that could contaminate a leak.
Empty shelves, drawers, and door bins. Clean and dry them, then secure removable pieces so they do not slide. Follow the appliance manufacturer's moving instructions for disconnecting, defrosting, and transporting the refrigerator or freezer. If you are unsure about timing or handling, check the appliance documentation rather than guessing.
Respect weight limits and label every carton
A kitchen box should be easy to lift from the bottom without twisting, bracing it against your leg, or making an awkward step. Heavy dishes, canned food, cast iron, and dense utensils belong in smaller cartons. Split the box when the contents are manageable by volume but uncomfortable by weight.
Label two sides and the top with the destination room, a short contents note, and a handling note when needed. Use HEAVY, FRAGILE, LIQUIDS, or THIS SIDE UP only when the label describes a real risk. Add a note for boxes that should be opened early, such as coffee supplies or the first-night kitchen kit.
| Box | Common dimensions | Good for | Weight note |
|---|---|---|---|
| Small | About 12" x 12" x 12" | Cans, spices, utensils, dense pantry goods, and heavy small items | Stop when the carton becomes awkward to lift |
| Medium | About 16" x 12" x 12" | Dishes with padding, cookware, small appliances, and food containers | Leave room for cushioning and keep the base stable |
| Standard | About 18" x 18" x 16" | Towels, paper goods, empty containers, and other light kitchen items | Use for volume, not dense contents |
Build a first-night kitchen box
The first-night kitchen box should be a small, clearly marked tote or carton that stays out of the main load until the last moment. Pack what lets you make a simple drink or meal, clean up, and open the rest of the kitchen without hunting through anonymous boxes.
- A few plates, bowls, cups, glasses, and basic utensils
- One pan or pot, a cutting board, and a can opener if you use them
- Coffee or tea supplies, snacks, water, and simple food
- Dish soap, a sponge, paper towels, hand soap, and trash bags
- A towel, basic cleaning cloth, and a small first-aid or medication supply
- Scissors or box cutter, tape, marker, and a phone charger
Add household-specific items such as pet food, child-safe dishes, or accessibility equipment. Load this box last and identify it with a large FIRST NIGHT KITCHEN label on more than one side.
Common mistakes and the final checklist
- Packing before decluttering, then paying to move food and gadgets you do not want.
- Using a large carton for dishes, cans, or cookware because it appears more efficient.
- Wrapping several breakables together so hard surfaces can still touch.
- Leaving liquids, cleaners, or damp items loose with paper goods and clothing.
- Forgetting cords, lids, blades, or appliance parts until the last box is sealed.
- Relying on FRAGILE labels while leaving empty space where items can shift.
- Sealing a box without checking its weight, bottom seam, and contents note.
- Food has been sorted into keep, use, donate, and discard groups.
- The refrigerator and freezer plan is complete, and appliances are empty and dry.
- Plates, glasses, cookware, knives, and small appliances have separate protection where needed.
- Heavy cartons pass a lift test and fragile cartons pass a movement test.
- Every box has a room, contents note, and handling label on visible sides.
- The first-night kitchen box is marked and kept outside the main load.
BoxCount Planner can help you set a starting supply range using home size, belongings, books, fragile items, wardrobe clothing, and move distance. Kitchen needs vary, so use the result as planning guidance and adjust it after you see how many small boxes and protective materials your actual inventory uses.
Use the calculator for a personalized starting estimate. Exact needs vary, so adjust it after you take inventory.
Use the moving supplies calculator