How to Pack Pictures and Mirrors for Moving
Choose fitted cartons, protect faces and corners, and prepare framed pictures and mirrors for careful handling and arrival checks.
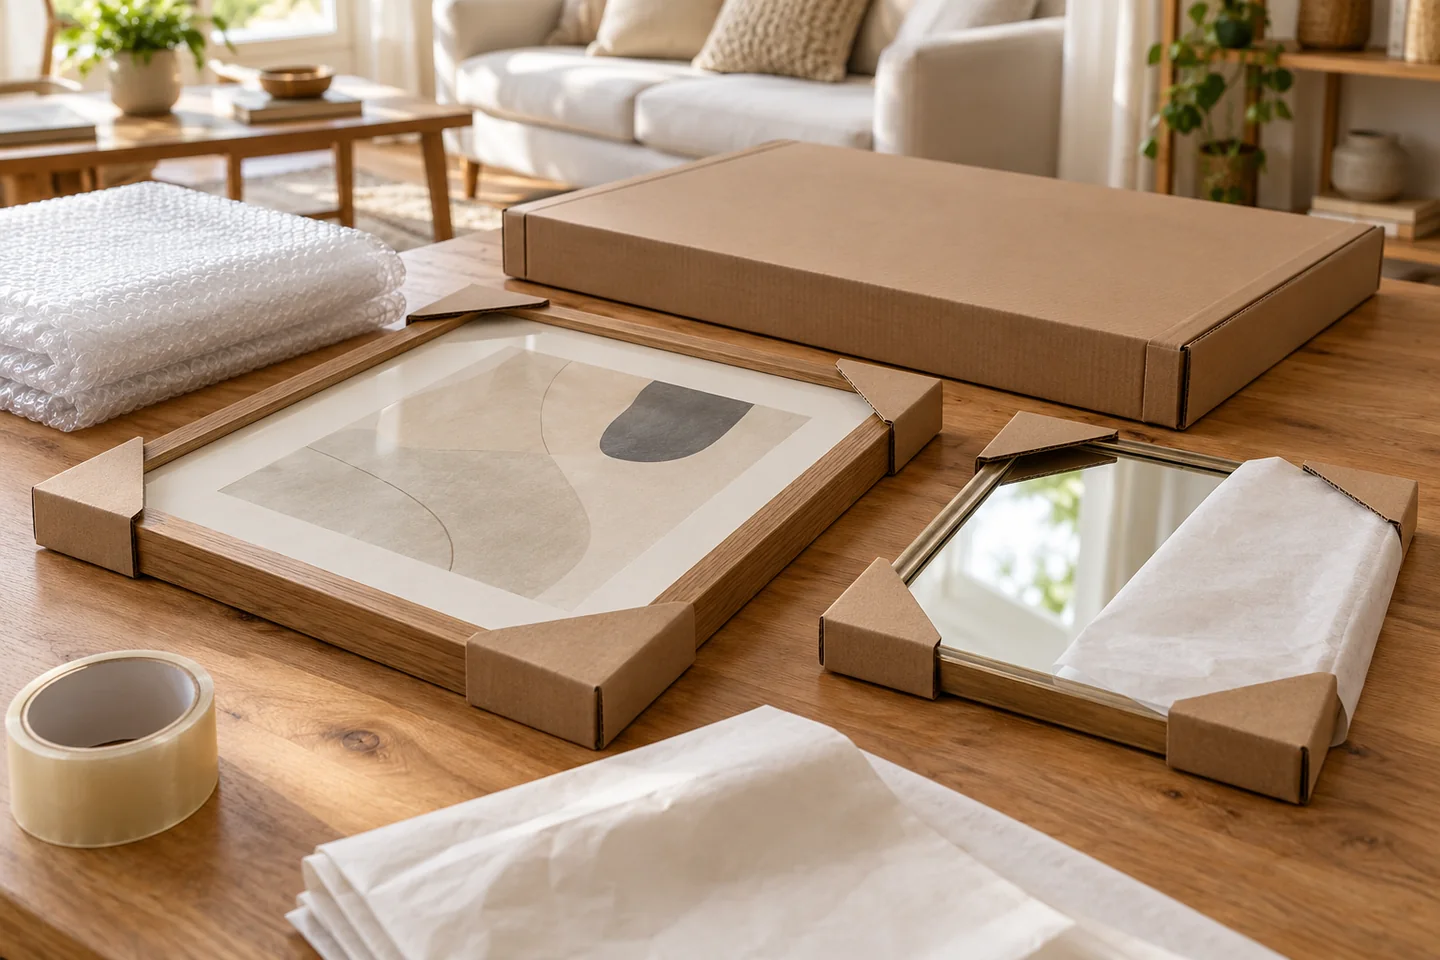
Identify the type of picture or mirror
To pack pictures and mirrors for moving, protect the face and corners, choose a carton that fits the protected piece, and stop it moving inside the box. Keep the package supported in the orientation required by the item and packaging, usually upright for framed glass and mirrors. Photograph its condition before wrapping so you have a reference at arrival.
Separate ordinary framed prints with glass, small photo frames, standalone mirrors, and original artwork. These need different decisions about surface contact and packing. Check for loose corners, damaged glass, unstable backing, or projecting fittings before you begin. A piece that is already damaged needs an appropriate handling plan before packing.
Ask an art packer, conservator, or qualified mover about valuable originals, delicate surfaces, unusual frames, and large heavy mirrors. Avoid applying a household mirror method to an exposed painting. Rolling, cleaning, or placing plastic directly on an artwork can be unsuitable for its materials.
Choose a box that fits the protected item
Measure the height, width, and depth, including frame projections and back fittings. Decide on corner protection and cushioning before selecting the carton. The internal dimensions must accommodate the protected piece without squeezing it or leaving a large unsupported space.
Picture and mirror cartons may be adjustable or assembled from several pieces. Follow the particular box's assembly and size limits; two cartons that look similar can have different closure methods. If an intact original package still fits and has its protective inserts, check whether it provides the support the item needs.
Pack a large piece individually. Small frames may share a suitable carton when each is protected, separated, and supported without creating an awkward load. If the frames slide or press into each other, use a different arrangement or separate boxes.
Gather surface protection, corner guards, and cushioning
| Packing layer | Where it belongs | Its purpose | Check before use |
|---|---|---|---|
| Compatible surface layer | Between the piece and outer wrapping | Limit abrasion and direct material contact | Suitability for the glass, frame, or artwork |
| Corner protection | Around each vulnerable frame corner | Support projecting edges | Fit without pressure on the glass or finish |
| Cushioning | Around the protected piece | Provide separation from the carton | Continuous coverage and room inside the box |
| Fitted outer carton | Around the complete protected package | Contain the piece for handling | Dimensions, condition, and assembly instructions |
Have packing tape for the outer wrapping and carton, clean packing paper where appropriate, suitable cushioning, corner guards, and a marker ready before taking the piece off the wall. Work over a clean, stable surface with enough space to support the whole object. Keep grit, tools, and loose fittings away from the face.
Keep adhesives off sensitive finishes and artwork. Some household packing guides suggest tape on ordinary glass to help contain fragments if it breaks; that does not prevent breakage. Follow the item's and packaging supplier's instructions on compatibility, and avoid improvising an adhesive step on coated glass or an unfamiliar surface.
Wrap and box each item step by step
- Record the piece and its condition. Keep removable hanging hardware in a labeled bag, and secure loose fittings according to the item's instructions.
- Add a clean, compatible protective layer where required. Keep abrasive material and printed paper away from vulnerable surfaces.
- Fit suitable corner guards without forcing them against the glass or frame. Add cushioning around the protected piece and secure the wrapping to itself.
- Assemble the carton as instructed and prepare the required base support before placing the item inside.
- Add compatible protection at the sides and top so the piece remains supported without being compressed. Separate multiple small frames with protective dividers.
- Check the fit with the carton supported. If the contents slide during gentle handling or the sides bulge, reopen and correct the arrangement before sealing.
Tape belongs on the wrapping or carton where it can hold the package together. Pulling tight tape across a frame or screen can put pressure where you are trying to avoid it. Ensure that the finished package can close naturally and that no hard fitting is bearing against the face of another piece.
Set aside loose photographs and albums rather than tucking them into gaps around a mirror. U-Pack recommends acid-free photo boxes for loose photos. Keep those containers identifiable, and consider a digital backup for photographs you cannot replace.
Label, carry, and load the box
Write a box number, destination room, and a short description on visible sides. Add FRAGILE and the correct orientation marks. Note the glass face when that helps handlers understand the package. Tell anyone helping which pieces need special handling before loading starts.
Move boxed mirrors and glass-fronted frames upright where required by their packaging. Support the complete package and avoid carrying by an exposed frame edge, hanging wire, or loose box flap. Arrange suitable help and equipment for a piece you cannot control comfortably.
Choose a stable place in the vehicle where the package will remain supported and restrained throughout the trip. Keep other loads from pressing onto the face or falling against it. Do not stack cartons on top. Check with the mover about positioning and restraint instead of wedging a fragile package between objects that can shift or squeeze it.
Handle oversized pieces and check them on arrival
Measure the route as well as the piece. Doorways, stair turns, vehicle access, and the final room can change the handling plan. Arrange professional help when the dimensions, weight, condition, or value require equipment or protection you cannot provide. Confirm who is responsible for packing before moving day.
At arrival, place the package in a stable, clear area before opening it. Inspect the carton for crushing or moisture, then remove outer protection carefully and compare the piece with your earlier photos. Keep small hardware together until the item is ready to install.
For the overall move, add paper, tape, and cushioning to your BoxCount supply plan. Record fitted picture cartons and corner protection separately where needed. The general supply estimate cannot confirm that a particular mirror box fits your piece.
- The piece, packing materials, and carton are compatible.
- Surface, corners, and protruding fittings have suitable protection.
- The carton closes without pressure and the contents stay supported.
- Labels identify the destination, fragility, and required orientation.
- The carrying route and vehicle position have been agreed.
- Arrival inspection can be compared with condition photos.
Use the calculator for a personalized starting estimate. Exact needs vary, so adjust it after you take inventory.
Use the moving supplies calculator